Proper preparation of your subfloor is one of the most important steps to ensure a beautiful, long-lasting timber floor. A well-prepared subfloor provides a stable, level, and dry foundation for your timber flooring, helping to prevent issues like warping, squeaking, or premature wear.
In this guide, we’ll walk you through the key steps to prepare your subfloor before timber installation, so you can enjoy a flawless finish and lasting durability.
Why is Subfloor Preparation Important?
The subfloor is the surface beneath your timber flooring. It can be concrete, plywood, particle board, or another material depending on your building. If the subfloor is uneven, damp, or dirty, your timber floor won’t perform as expected. Proper preparation ensures:
- Stability: A flat, secure base prevents movement and squeaks.
- Longevity: Reduces risk of warping, gaps, or cracks.
- Moisture control: Minimizes moisture transfer that can damage timber.
Step 1: Inspect Your Subfloor
Before starting, thoroughly inspect the subfloor for any damage or irregularities.
- Check for cracks, holes, or loose boards.
- Look for signs of moisture or water damage.
- Use a straight edge or level to identify high or low spots.
- Measure moisture levels with a moisture meter if available — ideal moisture content depends on subfloor type.
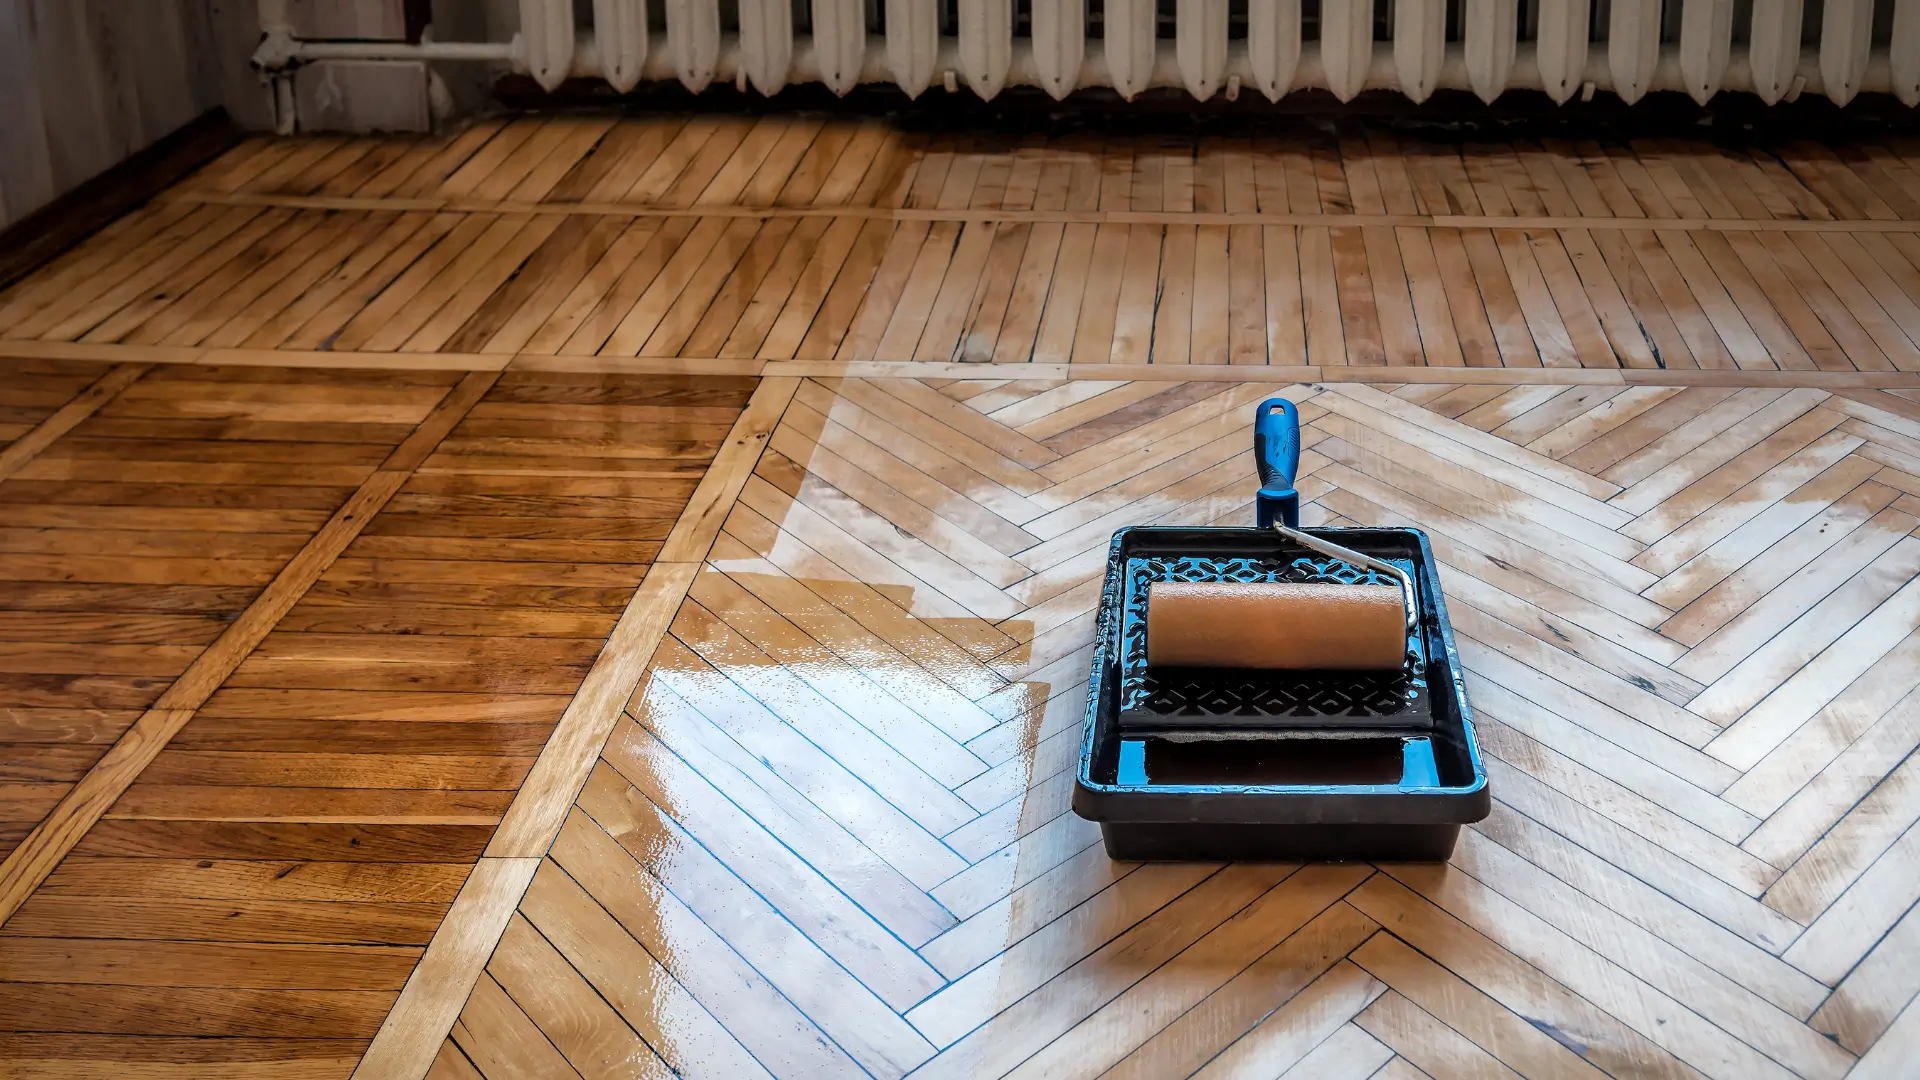
Step 2: Clean the Subfloor
A clean surface is essential for good adhesion and installation.
- Remove all debris, dust, and dirt.
- Vacuum thoroughly to get rid of fine particles.
- If there is old adhesive or paint, scrape it off.
Step 3: Repair and Level the Surface
A level subfloor is crucial for timber installation.
- Fill cracks and holes with appropriate filler or patching compound.
- Sand or grind down high spots.
- Use a self-leveling compound to even out low spots — follow manufacturer instructions carefully.
- Allow sufficient drying time for any repair or leveling products used.
Step 4: Check Moisture Levels
Moisture is a major enemy of timber floors.
- Test moisture levels in the subfloor and surrounding environment.
- For concrete slabs, ensure a moisture barrier or damp-proof membrane is installed.
- If moisture is high, consider additional waterproofing or drying before installation.
Step 5: Install Underlay (if required)
Underlay can provide cushioning, soundproofing, and extra moisture protection.
- Choose an underlay compatible with your timber flooring type.
- Roll out and cut to size, ensuring there are no gaps.
- Tape seams as needed for continuous moisture protection.
Step 6: Acclimate Your Timber Flooring
Before installation, bring your timber planks into the room and allow them to acclimate.
- Leave the timber flooring in the installation area for at least 48 hours.
- This helps the wood adjust to the room’s humidity and temperature, preventing shrinkage or expansion after installation.
Final Tips:
- Always follow the timber flooring manufacturer’s instructions and guidelines.
- When in doubt, consult a professional installer.
- Proper subfloor preparation may add time upfront but saves money and headaches later.
Preparing your subfloor carefully sets the stage for a beautiful timber floor that will last for years. Take the time to do it right, and your floors will thank you.